Arena Breakout: Infinite is a free-to-play tactical extraction shooter for PC from MoreFun Studios (Tencent) that drops you into a hostile map with your own gear, dares you to loot high-value gear, and forces you to reach an extraction point alive — because if you die, you lose everything you were carrying. It wears its Escape from Tarkov inspiration proudly but files down the sharpest edges: a bot-heavy Normal mode, a cleaner UI, and a forgiving economy make it the friendliest on-ramp the hardcore-extraction genre has ever had. Expect to lose kits, expect your heart to pound at every extract, and expect to get genuinely good if you learn the systems below before you learn them the hard way.
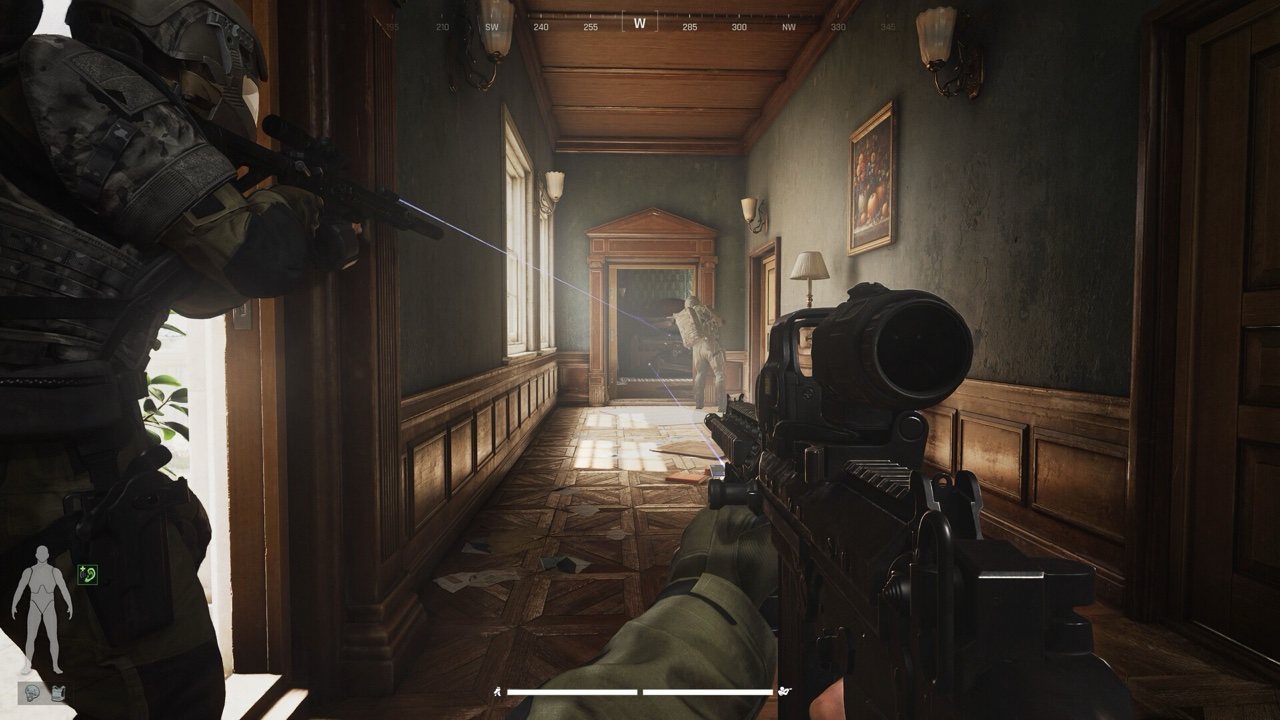
Watch: beginner walkthrough
What ABI Is (and How It Differs From Tarkov)
Every match is a self-contained raid: you deploy with a loadout you own, scavenge loot from the map, fight AI and other real players, and try to reach an exit before the timer runs out. Survive and everything you carried plus everything you grabbed comes home to your stash. Die, and it all drops for whoever killed you — except what's tucked inside your Safe Container. That risk-versus-reward loop is the entire game, and it's why a single firefight feels heavier here than a whole match in most shooters.
Compared to Escape from Tarkov, ABI is deliberately more approachable. It's fully free-to-play, has a proper tutorial, and its beginner-facing Normal mode is packed with predictable AI so you can learn maps without constant player pressure. Monetization leans on cosmetics and Safe Container upgrades rather than raw power, and the interface, market, and healing systems are all streamlined. The core skill ceiling — audio, positioning, ammo knowledge, greed management — is just as high, but the climb is gentler.
- Do the tutorial fully — it hands you starter gear and teaches the loot/extract flow.
- Sell the golden chain the tutorial gives you; it's worth roughly 80,000 Koen and bankrolls your first dozen raids.
- Koen is the main in-game currency you earn and spend; Bonds are the separate premium currency bought with real money.
- Treat your first 20 raids as free tuition — you WILL die and lose kits, and that's the intended learning curve.
- Play with a headset from raid one; audio matters more than graphics in this genre.
Your First Raid: Modes and the Core Loop
The loop never changes: deploy, loot, fight when you must, extract. What changes is the mode you deploy into. Normal mode is where every new Operator should live: there's no entry fee, gear value is capped so nobody can bring god-tier kit, and the map is stuffed with AI 'squads' that follow predictable patterns and don't try to extract or ambush you. It's the perfect sandbox to memorize layouts and stack Koen without sweaty PvP.
Around account level 10 you unlock Lockdown mode. Lockdown has a Koen entry fee (roughly 5,000) and a minimum gear-value requirement (around 30,000 Koen), far fewer bots, and many more real players — but noticeably better loot. Beyond that sits the Forbidden Zone, the endgame tier with the richest loot and the deadliest lobbies. The golden rule: don't rush upward. Grind Normal until you can consistently extract with 100k+ Koen of loot per run before you touch Lockdown.
- Start on Farm in Normal mode — it's the smallest, most beginner-friendly map.
- Set one goal per raid (a task, a loot area, or 'just extract alive') and leave the moment you hit it.
- Don't fight everything — a full backpack you actually extract with beats a kill you die for.
- Watch the raid timer; getting stranded far from an exit at 0:00 is a guaranteed loss.
- Benchmark yourself: only move up to Lockdown when 100k+ extracts in Normal feel routine.
Reading Maps and Nailing the Extraction
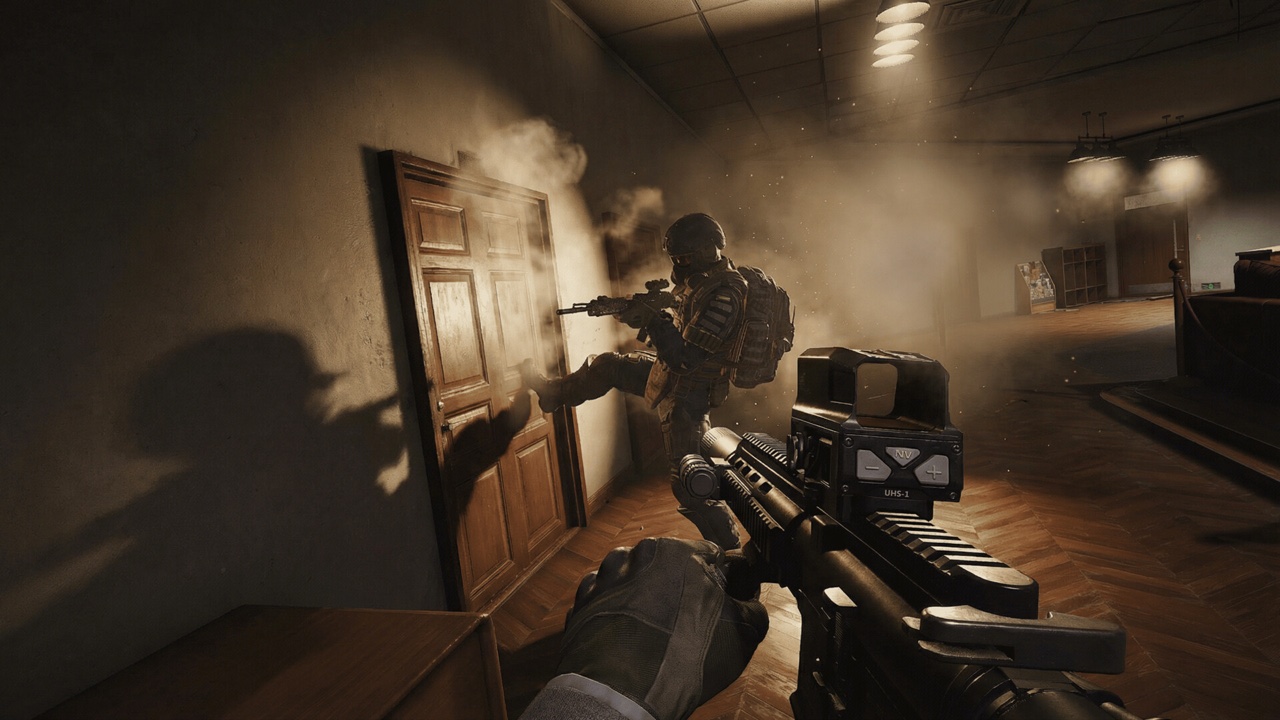
ABI's maps each have a personality. Farm is a tight, funnel-shaped starter map with premium loot around the Motel and Grain Trade Post. Valley is a big, open, long-range map built around the high-risk Beach Villa. Northridge is a sprawling mountain map centered on a multi-wing hotel full of locked, key-only rooms. Armory is a high-tier map split between an outdoor perimeter and a fortified underground bunker. TV Station is a claustrophobic indoor PvP arena with no scavs, and Airport is another large, contested playground.
Extractions are the part beginners underestimate. Not every exit is a free door — some are probabilistic and only sometimes active, and many are conditional: they may require you to have no backpack, pay a Koen fee, flip a remote switch, or carry a specific item or token (Valley's Helipad, for example, wants a Boss Token). Learn two or three reliable exits for every map before you commit to looting deep, because knowing where you're leaving from shapes every route you take.
- Pull up a community interactive map (ABI Helper, Gearnet, tcno) on a second screen while you learn a location.
- Always know your nearest active extract before you push into a loot-dense building.
- Learn which exits are conditional so you're not sprinting to a gate you can't actually use.
- Position yourself between the loot and an exit, not the loot and the far edge of the map.
- If a firefight erupts near your planned extract, have a backup exit picked out already.
The Gear System: Armor Tiers, Helmets and Ammo Penetration
Body armor and helmets are rated by tier (roughly 1 through 6), and that number is only half the equation — the other half is your ammunition. Every round has a Penetration stat and a corresponding Pierce Level. When your bullet's Pierce Level is higher than the enemy's armor tier, it penetrates and deals full damage. When Pierce Level equals armor tier, it penetrates most of the time but for reduced damage (around 80%). When it's below the armor tier, rounds frequently fail to punch through and get soaked up.
The nuance that trips up new players: two rounds with the same Pierce Level can perform very differently because their underlying Penetration stat differs. A 5.56 M856A1 is nominally Pierce Level 4 but has a low penetration value (~40), so it's notoriously unreliable against genuine Tier 4 armor. The practical takeaway is to match your ammo to the armor you expect to face, and remember that unarmored limbs and faces bypass this math entirely — which is why headshots and leg-meta play are so strong on a budget.
- Your ammo matters more than your gun — a cheap rifle with good rounds beats a pricey rifle with bad ones.
- Never raid with less than Tier 3 ammo; graduate to Tier 4 as soon as you can afford it.
- Check the actual penetration value, not just the Pierce Level, before trusting a round against high armor.
- Against heavy armor, aim for the head, legs, or unarmored gaps rather than trading into the chest plate.
- A helmet one tier below your body armor is a common, sane budget compromise.
- Repairing armor lowers its max durability slightly each time — factor that into repair-vs-replace decisions.
Building a Cheap Kit That Actually Wins
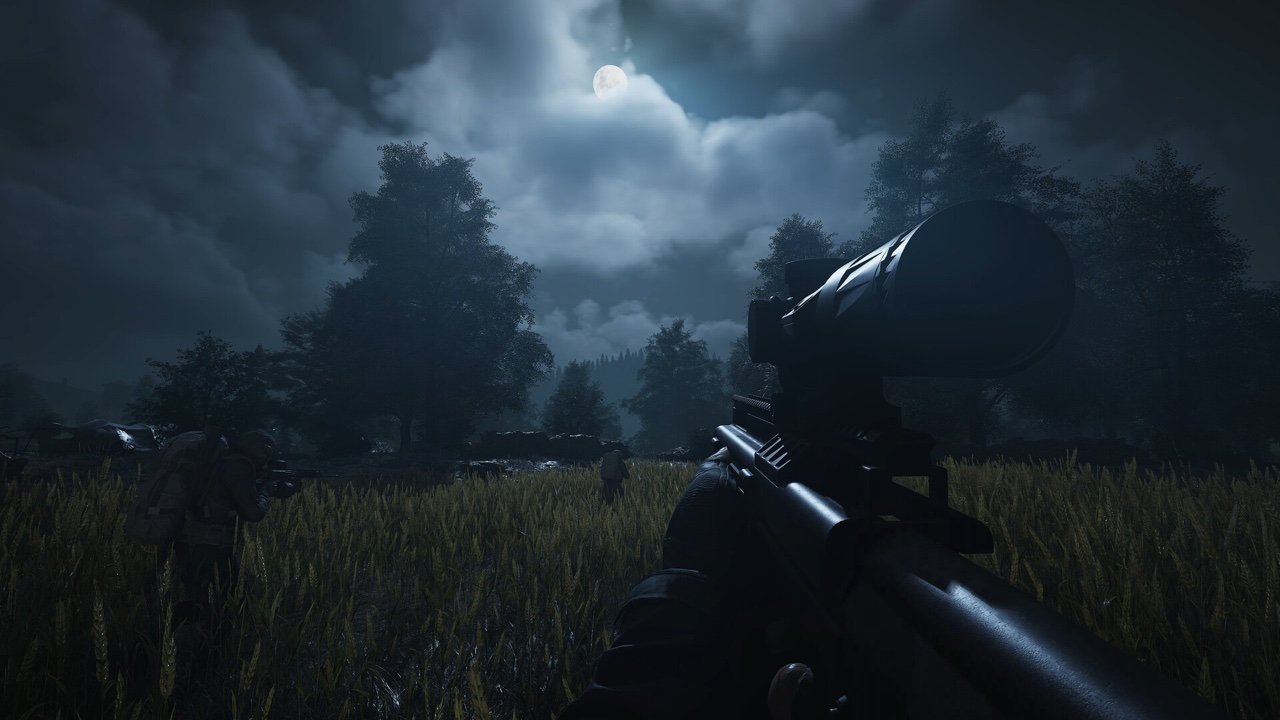
The single biggest budget lever is ammo, not weapons. A common allocation is spending 60-70% of your kit budget on good ammunition (Tier 3 penetration or better), 20-25% on the gun and essential attachments, and the rest on meds. Ultra-cheap builds like a carbine or a suppressed budget rifle can be assembled for well under 30k Koen and still delete players who over-invested in expensive guns loaded with weak rounds.
The discipline that keeps you solvent is a simple staking rule: never sink more than about 30% of your total Koen into a single raid's kit. If you're sitting on 100k, your kit should cost around 30k or less. That way a losing streak — and you will have them — can't wipe you out, and you can keep deploying while you learn. Cheap, repeatable kits that you're willing to lose will make you far more money over time than one hoarded 'nice' loadout you're too scared to use.
- Buy a proven budget build (e.g. a cheap AK/carbine) and standardize it so re-kitting after death takes 30 seconds.
- Spend up on ammo, down on the gun — it's the highest-value trade in the game.
- Keep 4-5 identical loadouts pre-saved so death never stops you from re-deploying.
- Bring a basic Tier 3-4 rig/armor, a helmet, meds, and a couple of grenades — you don't need more to win early.
- If you can't afford ammo AND armor, prioritize the ammo and run lighter armor.
The Safe Container: Your Anti-Frustration Insurance
The Safe Container (Safe Box / Secure Case) is a small protected pouch you carry into every raid whose contents are NOT dropped when you die — they always come home. A free 2-slot version is obtainable via in-game events, while larger cases are premium: a 4-slot Bulletproof Case runs about 500 Bonds ($4.99) and a 6-slot Composite Case about 1,000 Bonds ($9.99), and note the paid ones are time-limited (expiring after 30 days).
Used well, the Safe Container turns catastrophic deaths into break-even ones. Fill it with a stack of your best ammo, a surgical kit, and painkillers so a bad raid can't cost you your expensive consumables. The pro move is to leave a slot holding a cheap filler item, then swap it out for any high-value loot you find mid-raid — that way you lock in guaranteed profit before you ever risk the walk to extraction.
- Always carry your Safe Container loaded — an empty one is wasted protection.
- Keep spare high-tier ammo and a surgical kit inside so death never drains your consumables.
- Reserve one slot as a 'swap slot' for the best small item you find each raid (keys, keycards, valuables).
- Keys and keycards are ideal Safe Container cargo — they're tiny and expensive to replace.
- The free 2-slot case is enough to start; only buy a bigger one if you play a lot.
Tasks, Factions and Progression
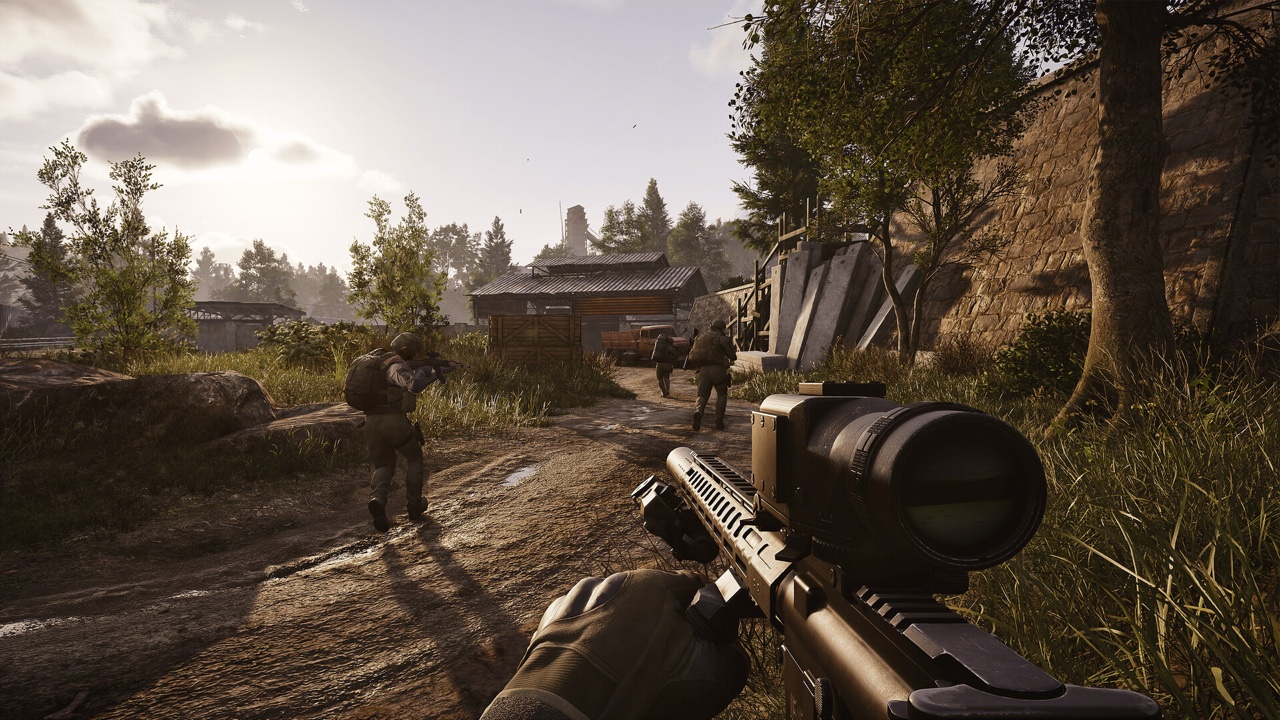
Progression is driven by Contacts who hand out missions. Main tasks reward Koen and gear and pull you through the maps in a sensible order. Faction tasks pay out faction currency and reputation, and weekly tasks bundle Koen, faction rewards, and gear boxes. Chasing tasks is the best way to learn the game because they naturally push you to visit specific buildings, extract from specific exits, and try specific weapons — turning aimless raids into purposeful ones.
Tasks are also a steadier income than gambling on loot runs, and their gear rewards can outfit you for free. Read each task's requirements before you deploy so you can knock several out in one raid — 'stash an item here,' 'kill X with this weapon,' and 'extract from this point' can often be stacked on a single route.
- Follow the Main task line early — it doubles as a guided tour of the maps.
- Stack multiple task objectives into one raid route to save time and risk.
- Read task requirements BEFORE deploying so you bring the right weapon/item.
- Faction reputation unlocks better trades and rewards — chip away at it steadily.
- Some tasks want you to 'find in raid' an item — don't sell those to a vendor by accident.
The Economy: Stash, the Market, Keycards and Insurance
Your wealth isn't your stash value — it's your liquid Koen. New players hoard shiny gear and go broke on cash; experienced ones sell aggressively and keep money free for kits, ammo, and market plays. The player-driven Market works like a live auction where prices swing with supply and demand, so you can buy guns, parts, and keys below value, clear a raid with them, and sell the pieces for profit (buy an M4 for ~35k, sell its stripped parts for ~40k). Prices tend to rise on weekend evenings and dip on weekday mornings.
Keys and keycards open locked, loot-rich rooms and are among the best investments in the game — a good key often pays for itself in one or two runs — but they have limited uses (roughly one use in Normal maps, two in Lockdown, three in Forbidden). Insurance is your other economic safety net: you pay a fee up front, and if you die and no other player extracts with your insured gear, it's returned to you (AI scavs don't steal insured items). It's cheap relative to replacement, making it a no-brainer on armor and guns you'd hate to lose.
- Prioritize liquid Koen over a fat stash — cash is flexibility.
- Buy keys/guns on the Market when prices dip (weekday mornings) and flip loot when they peak.
- Insure your armor and primary weapon — you often get them back even after dying.
- Remember insured gear only returns if no PLAYER hauls it out, so it's weakest in sweaty lobbies.
- Track key durability — don't waste a Forbidden-tier key's last charge on a low-value room.
- Learn a few reliable flip items (common attachments, meds) to grind Koen with near-zero risk.
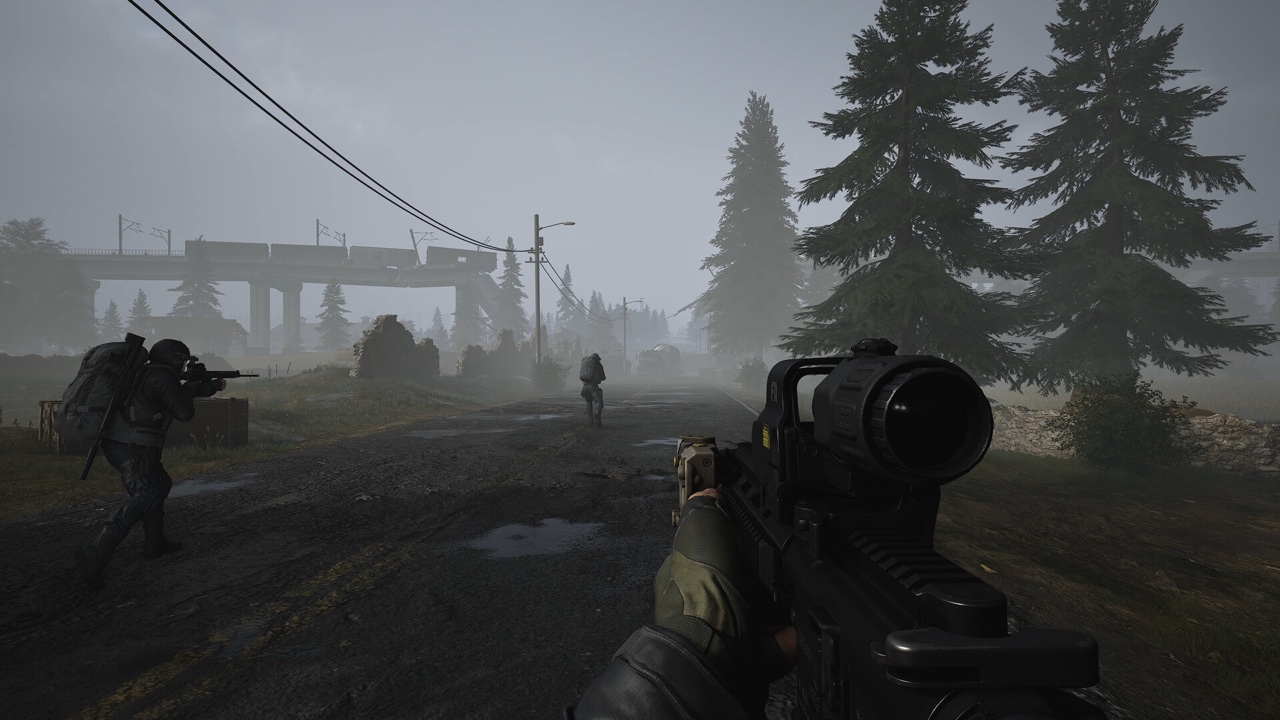
Combat, Health and Audio
Your health is split across seven body parts (head, upper and lower abdomen, two arms, two legs) totaling roughly 440 HP, and it is NOT one shared bar. A shot to the head or the chest/heart kills you instantly no matter your overall health, so protecting those two zones is everything. Bleeds continuously drain HP and must be stopped with a bandage first; broken limbs need a surgical kit and, without a full medkit, only heal back to 1 HP. Painkillers are your panic button — they temporarily mask pain so you can sprint and aim normally, but they do NOT stop bleeding, so pop a painkiller to escape, then patch up in cover.
Gunplay rewards patience. Full-auto is for clearing rooms; past ~20 meters, switch to semi-auto and place shots — headshots ignore armor entirely and conserve your precious good ammo. Above all, audio is life. Footsteps sound different on wood, metal, grass, and gravel, and their tempo tells you whether someone is walking or sprinting. A firefight is a beacon; after you take a kill, the killcam has revealed your position, so relocate within a few seconds and re-peek from a fresh angle.
- Stop bleeds with a bandage FIRST, then fix breaks with a surgical kit, then top off HP.
- Use painkillers to escape a bad spot — but heal for real once you're safe, because they don't stop bleeding.
- Crouch-walk to move near-silently; sprinting broadcasts your exact location.
- Switch to semi-auto past ~20m and aim for the head to beat armor and save ammo.
- Move immediately after a kill — the enemy just saw where you shot from.
- Turn ambient volume down and footsteps/gunfire up so you can pinpoint threats.
The Biggest Beginner Mistakes to Avoid
Most early losses aren't about aim — they're about discipline. New players over-gear before they can protect that gear, hoard a museum of loot they're too scared to use, forget to load their Safe Container, and fight every single audio cue instead of picking battles. They also skimp on ammo to afford a fancier gun, which is exactly backwards. Every one of these is a habit you can fix on day one.
The mental model that separates survivors from perpetual victims: greed kills more Operators than bullets. The extract you actually reach is worth infinitely more than the loot you died reaching for. Play cheap, play patient, extract early, and let compound Koen — not heroics — build your account.
- Don't over-gear early — run kits you're genuinely fine losing.
- Never deploy with an empty Safe Container.
- Stop hoarding — sell loot, keep Koen liquid, and re-kit fast.
- Don't chase every gunshot; unnecessary fights are how good runs end.
- Learn your extracts before you learn the loot rooms.
- When your bag is full or your task is done, LEAVE — greed is the number one killer.